Role: UX/UI Designer. Collaborated with with the CEO, the Product Owner, two Developers and a Marketing Manager.
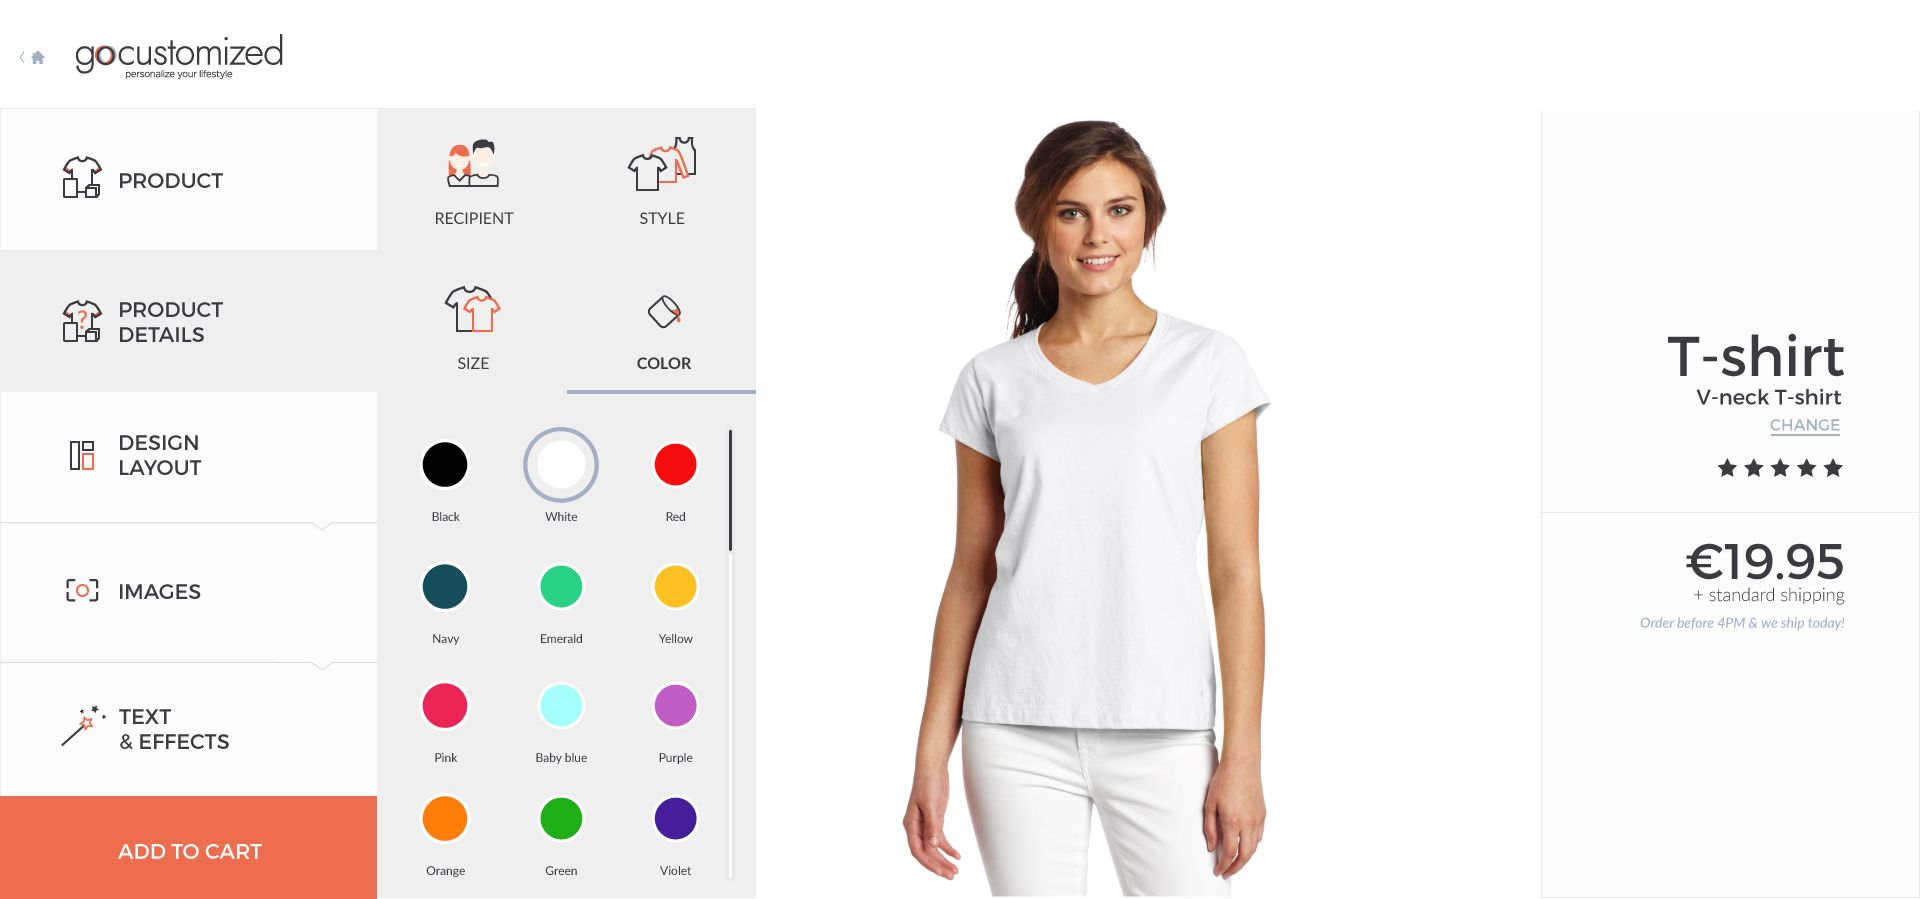
GoCustomized.com allows users to personalize their own phone case (or gadgets & T-shirts) with their own photos, designs, text, stickers etc. The company had a very basic design tool and required major design and performance improvements so it would be more user friendly, easier to use and offer more features so the user can customize their items quickly and enjoyably.
Steps
1 - Gathered business requirements
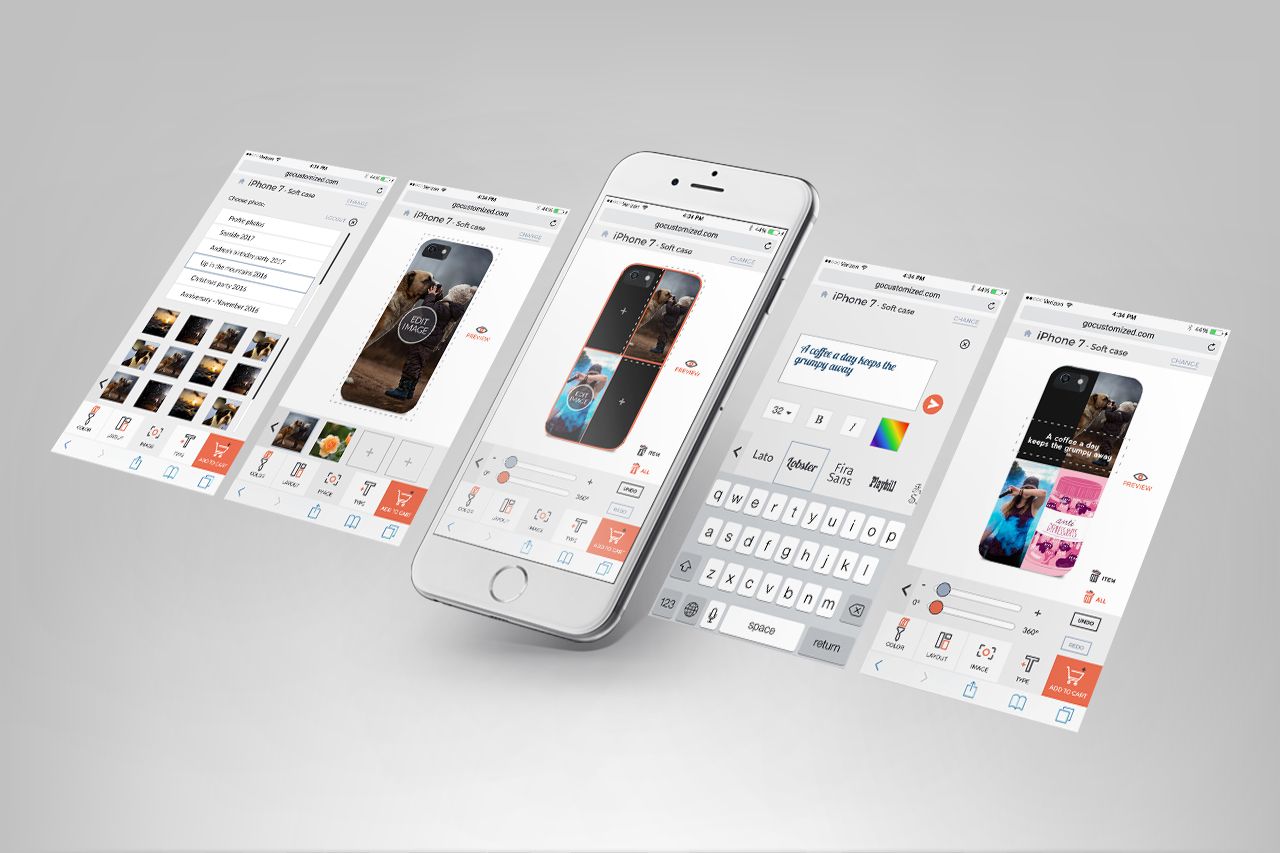
GoCustomized had a basic design tool and the stakeholders wanted a full redesign with a new UI and a great user experience. It was crucial that the new tool would be mobile-first since the old tool had no mobile version and more and more users visited from mobile.
2 - Researched the users
I conducted qualitative research on our users - customer calls and good old fasioned google - and GoCustomized clients were typically women between 15-45 years old who mostly used the tool to create cases with photos of their friends, family and pets. The stakeholders wanted to also target men and a younger group, so we set our target group as 18-45yo men and women, young professionals who look for great personal gifts or to express themselves with a personalized item. We had two clearly mapped out personas and still above all, the tool had to be intuitive and fun.
3 - Ideation, created versions of the design tool
Working with the team, we set out to plan the project in sprints in order for development and design to work in parallel. I mapped out the user journey, created wireframes and then built a UI style guide and a pattern library.
After rounds off feedback with the team and adjusting design versions, we had a desktop version and a mobile version. I created a high def prototype of the mobile version in InVision to test it out with first time users.
I tested it remotely using the InVision link and TeamViewer with a group of users I recruited online from the target group who were asked to performs specific tasks. According to their behaviour and feedback, I made changes to the design pertaining to the steps they had to take and the buttons design.
4 - Prepared the design for development
With everything tested, set and approved, I shared all he files and assets with the team. I worked closely with the developers throughout the process.
5 - Tested a first version with first time users for usability and bugs
Once the developers had a version of the design tool ready to go, I prepared testing sessions - live with 10 people in the target group that I asked them to perform specific tasks.
I tested the design tool not just for usability, but also for bugs and I gathered the findings and made some changes to the design that I relayed to the developers.
6 - Results
After the launch, we saw a huge spike in use and conversion. We did not rest on our laurels, so I used HotJar to see how the tool fared with our users in order to make improvements to the flow. I worked with our team of developers to implement A/B tests and see what could aid conversion. I noticed that the tool offered users too much freedom in designing a case - triggering choice overload, they didn't know where to click and just bounced if they felt overwhelmed. Implementing steps, arrows and a clear in-your-face upload photo button improved the conversion and lowered the bounce rate. I kept monitoring and testing the tool and made incremental improvements over time.

